I have more composition notebooks than I know what to do with. Because they are really inexpensive and can be used for anything that requires a pen and some paper, I have quite the collection. They pretty much get used for everything: running log, recipes, journals, story ideas, working out blog posts, photography stuff, work, phone messages, etc.
The problem with composition notebooks though is that they aren't very pretty. Sure, Target occasionally sells them with designs and different colors but they are rarely the ones you can by for $0.99 and are most definitely not the ones I can by at my local shop. For me, the closest Target is 45 minutes away.
I decided to jazz up one of the plain black and white marble notebooks I had laying around the house because my current "Hey, that'd made a great blog post!" notebook is getting ready to be retired.
This project was super simple and the possibilities are endless with what you can do with it. I may even need to take a trip to the store tomorrow to pick up a few more notebooks to do this again!
Before we continue, I shall apologize that the photos are not the best. I didn't realize until after I had started the project that my camera battery was totally dead, so these were taken with my iPhone. Whoops!
Supplies:
- Composition Notebook
- Spray Paint
- Washi Tape
- Clear Acrylic Matte Sealer (optional)
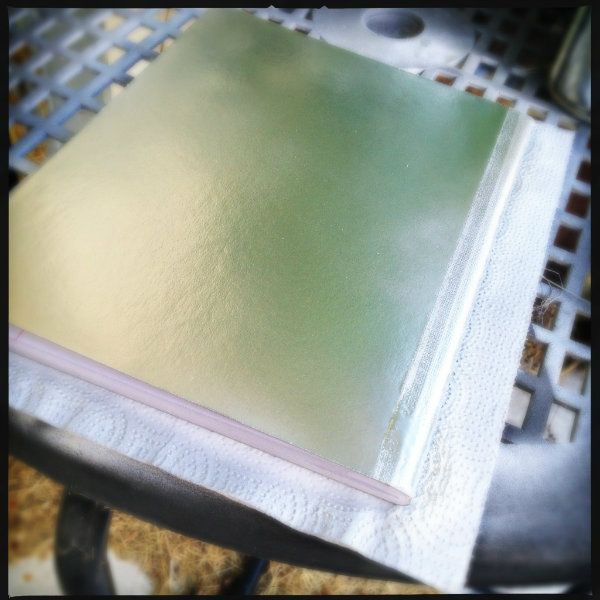
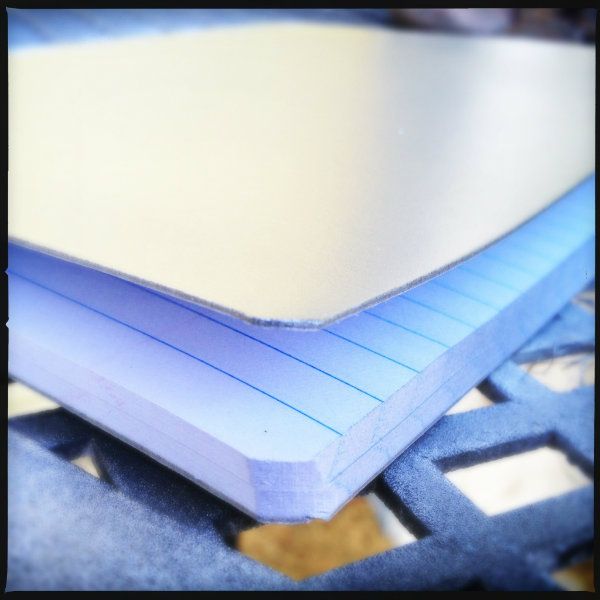
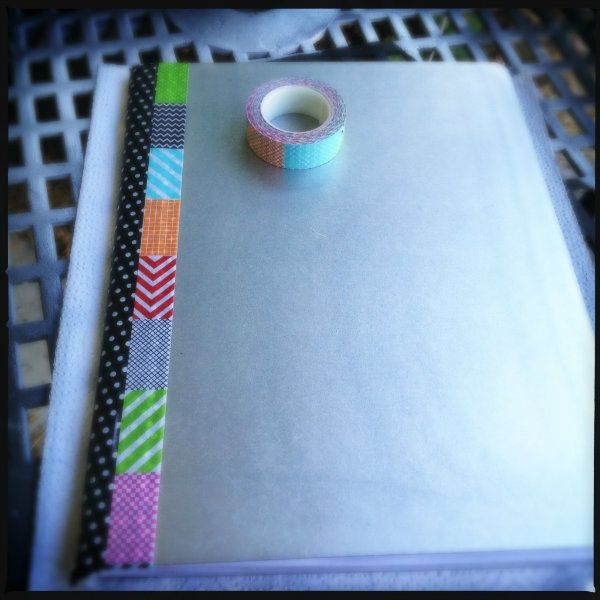
In a well ventilated area, pray both sides of the notebook with the paint, making sure to wait until the first side if dry before flipping the notebook over to do the second side (trust me--made that mistake on my own, it was a bit messy). For this notebook, it's a bit hard to tell in the photos, but I used a metallic silver. Don't worry about getting the edges of the paper. I lightly sprayed the edges of my notebook so the edges of the pages are also silver.
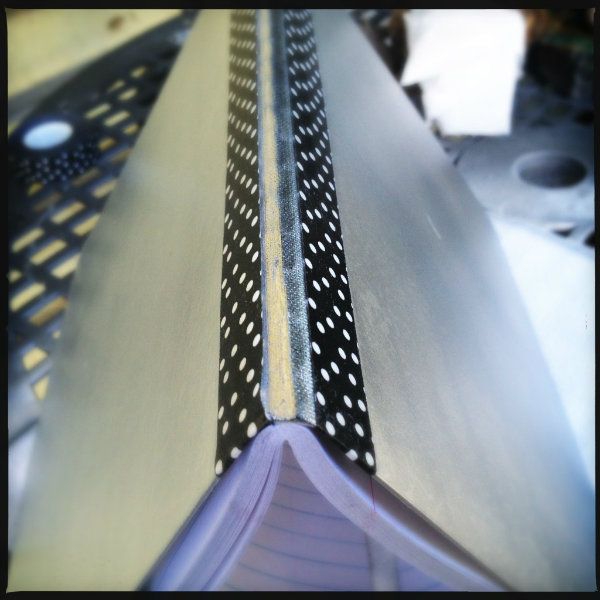
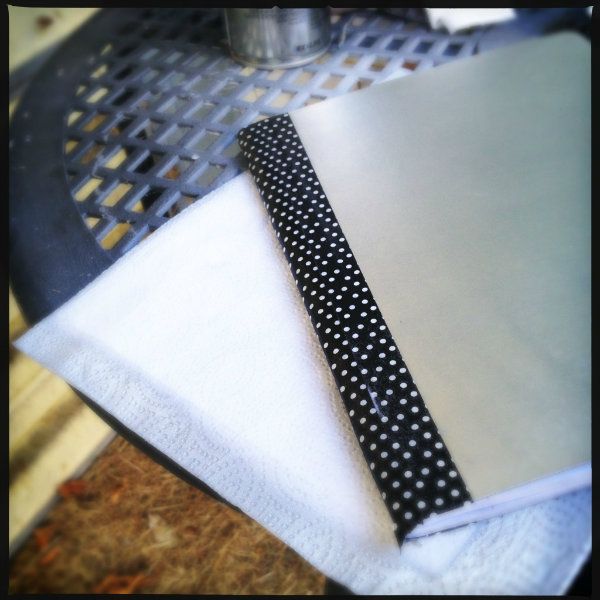
When the paint has dried on both sides of the notebook, cover the binding with washi tape, trimming away any excess hanging over the edge.
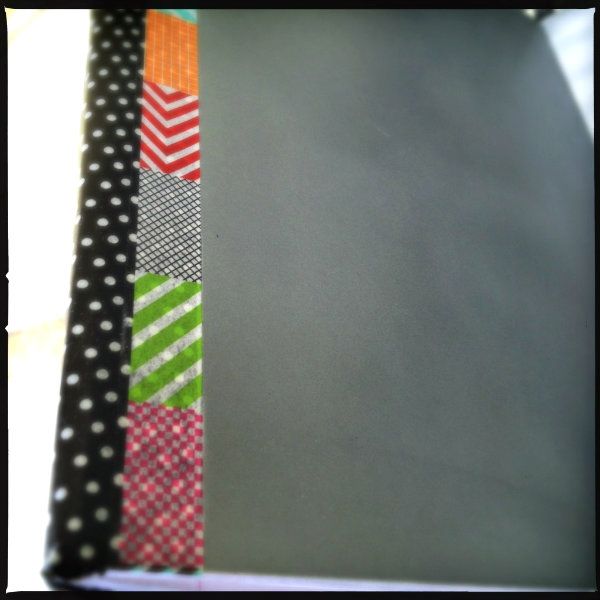
Once I had all the washi tape where I wanted it, I did spray everything with the acrylic sealer. This helped to keep some of the extra paint residue from wiping off all over myself and also helped to secure the washi tape around the edges.
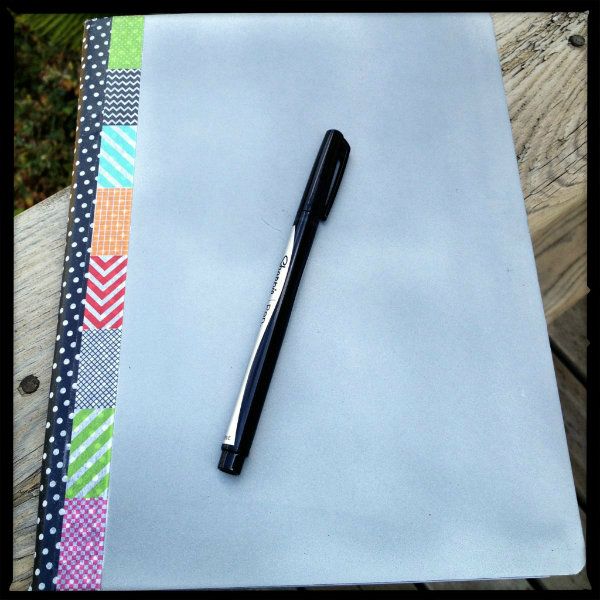
Once everything is dry, you are ready to start writing!
Like I said, this is such a versatile project, the sky is really the limit. I think the next time I'm going to use white paint and then use a paint pen to draw a design on the notebook.
If anyone else gives this a try, I'd love to see what ya'll come up with!

Very cute! I like the spray paint!
ReplyDeleteThe spray paint made the project really quick and easy. I did end up trying a notebook with white spray paint and needed a few coats to completely cover everything.
Delete