Showing posts with label DIY. Show all posts

01 August 2013

Crochet Along: Trek Bracelet

Over the past couple of months, I have been buried in projects for friends and family. While it has been wonderful being able to make things for them, it has left little (if any) time for personal projects.

For this months Crochet Along project was hosted by Mariel over at More Than... and I immediately fell in love with the Trek Bracelet (a.k.a. crochet cuff) from Felted Button. I've always been a big fan of chunky bracelets but have never like the way they felt so this was the perfect solution.
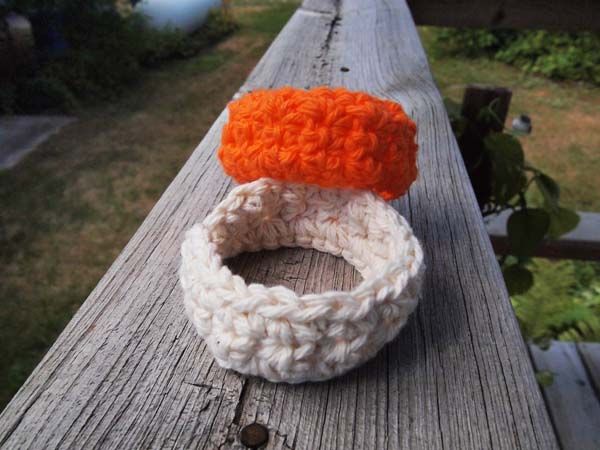

I tried two different "clasps"--the traditional clasp and using a bead. The bead option unfortunately streteched out pretty quickly and kept falling off my wrist (thankfully I was at home) so I'm going to need to figure something out there. The traditional clasp worked perfectly fine, it just wasn't as cute.
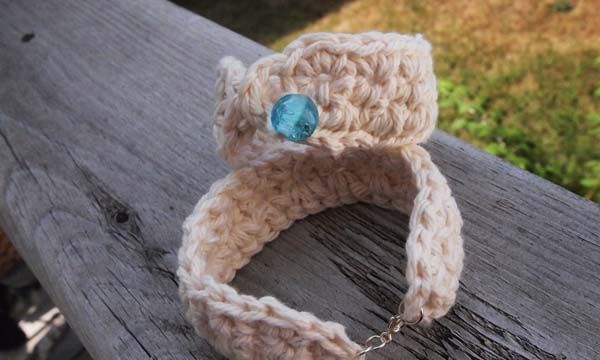
Because the pattern was really easy to follow and was basically just single crochets all the way around, I whipped up a number of them while watching an hour t.v. show. This is going to be the perfect project to use up my extra scrap yarn (I've been using my left over cotton yard for the cuffs) and I'll have a bracelet for every outfit, because you're supposed to coordinate all that stuff, right?!
Follow on Bloglovin

29 June 2013

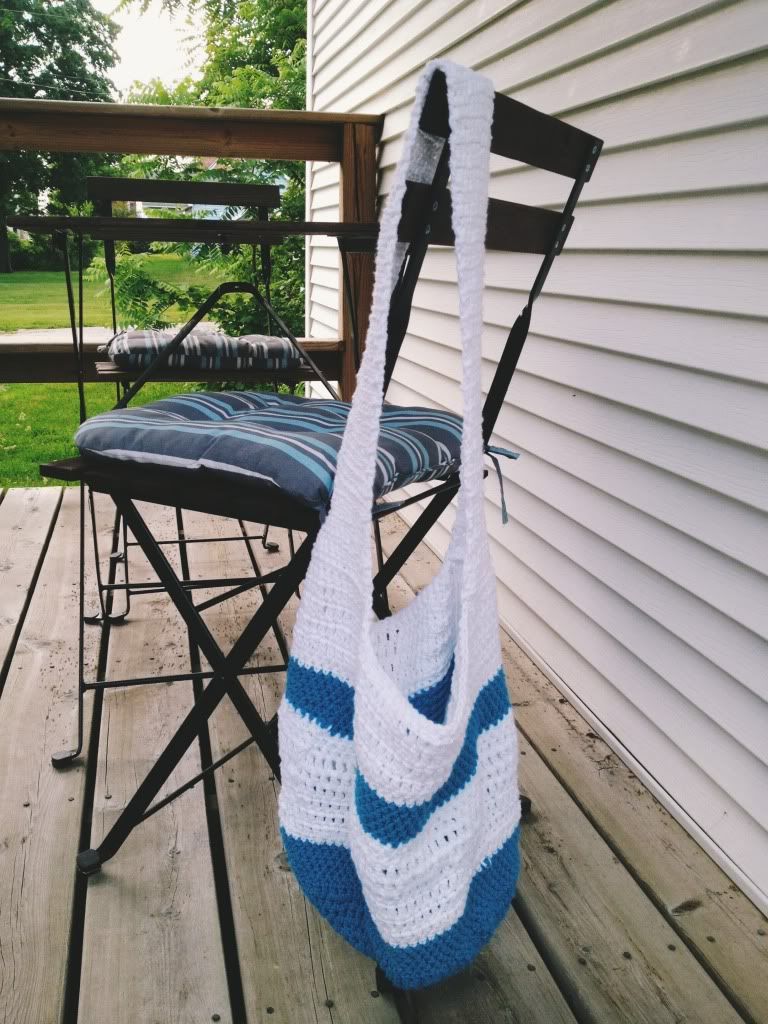
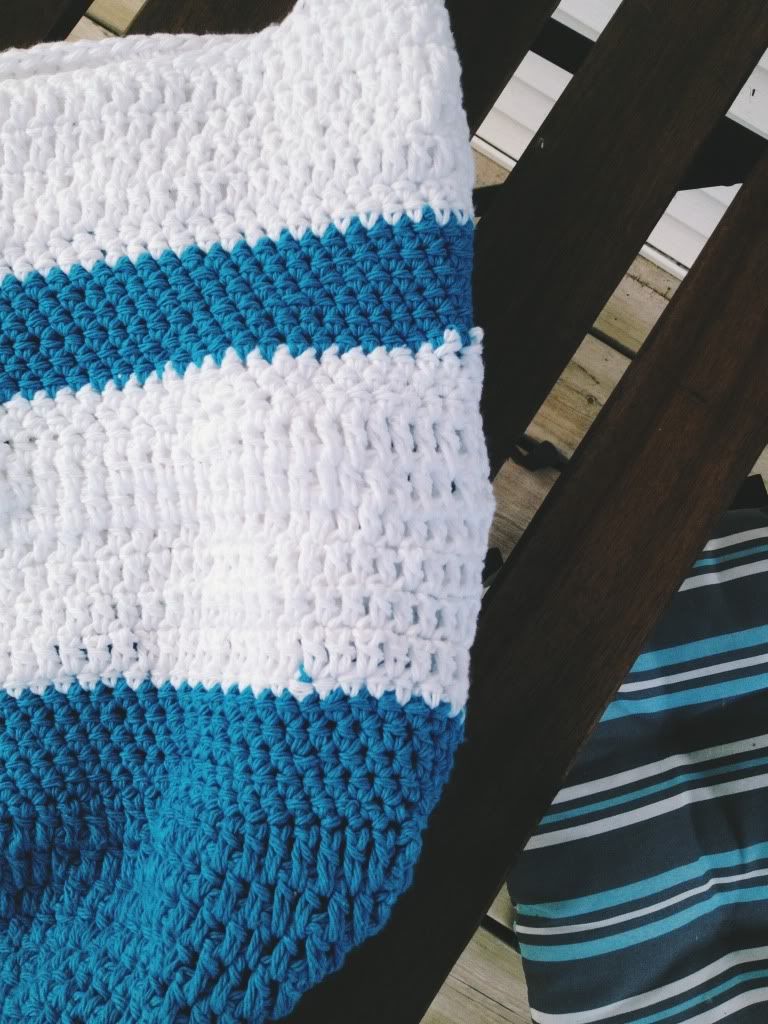
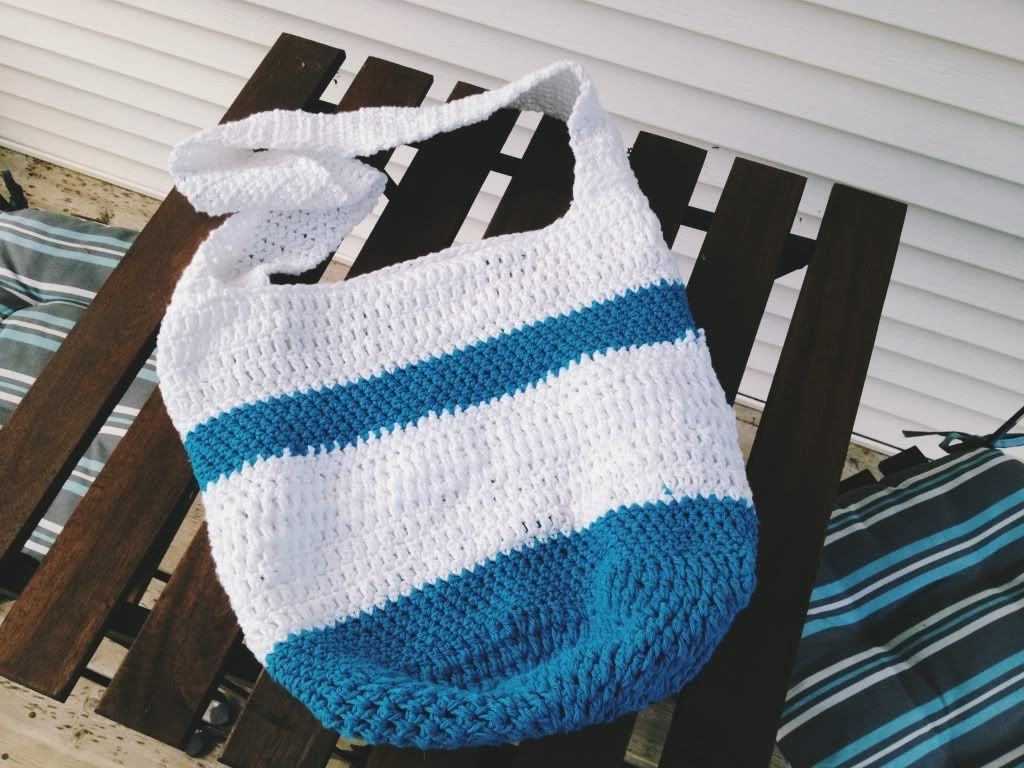
Crochet Along: Beach Bag

I have to confess, this was probably my favorite crochet along project thus far thanks to a pretty healthy obsession with bags.

But this bag, I didn't keep for myself. I sent it to my friend Micah along with a couple other items for her to use this summer on her upcoming staycation adventures and/or time at the pool.

      
I used Lily Sugar 'N Cream cotton yarn in turquoise and white. I unfortunately don't know how much I of it I used of each as I had enough left over bits from other projects for this one. I also had to modify the pattern a bit (like I generally do) thanks to using a larger hook than the pattern suggested and didn't follow the directions at all when it came to the handle. I love the way the bag turned out though. This is definitely a pattern/bag I am going to make again!


Did you link up this month for Alicia's Crochet Along project
Follow on Bloglovin

14 June 2013

Hooking: Crochet Crazy

It seems to be feast of famine around these parts when it comes to crochet projects.

I'm either not working on anything at all or I have a list so long it requires it's own checklist to make sure I make enough parts.

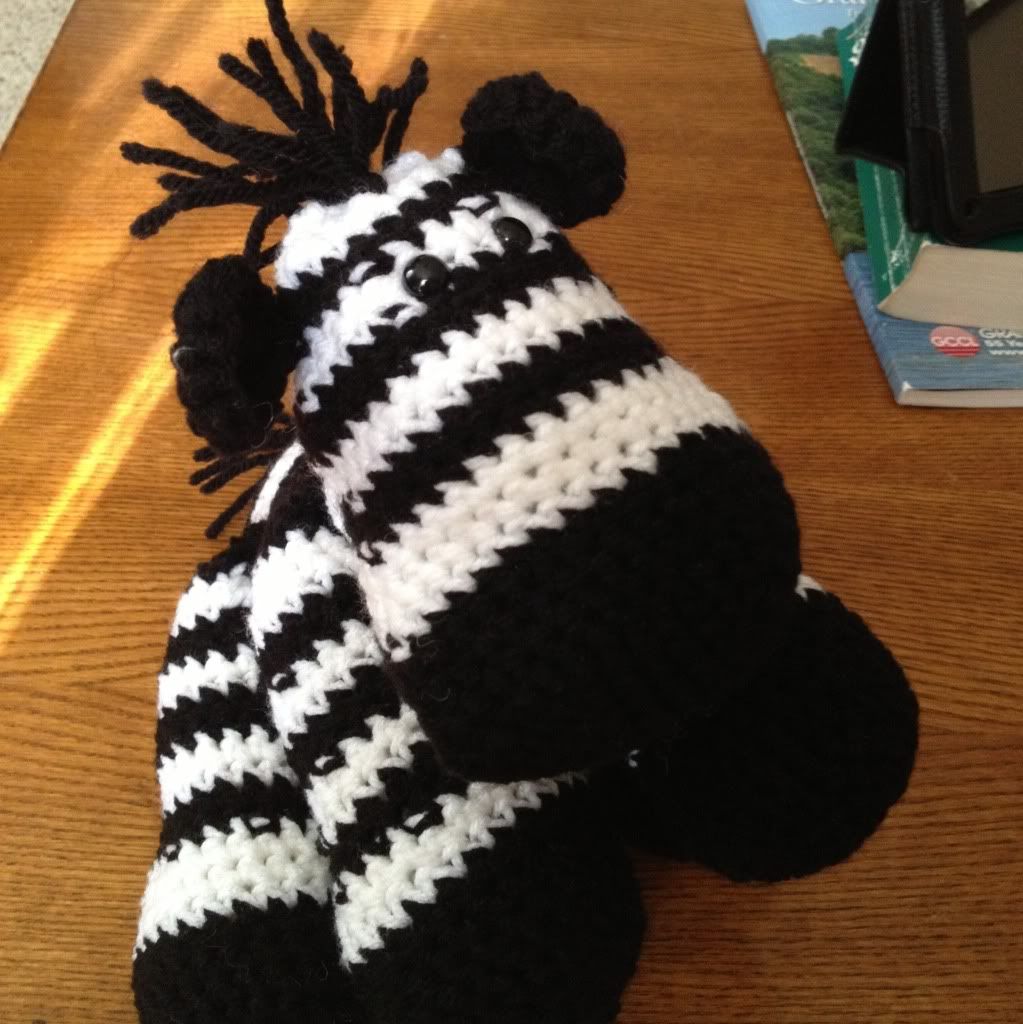
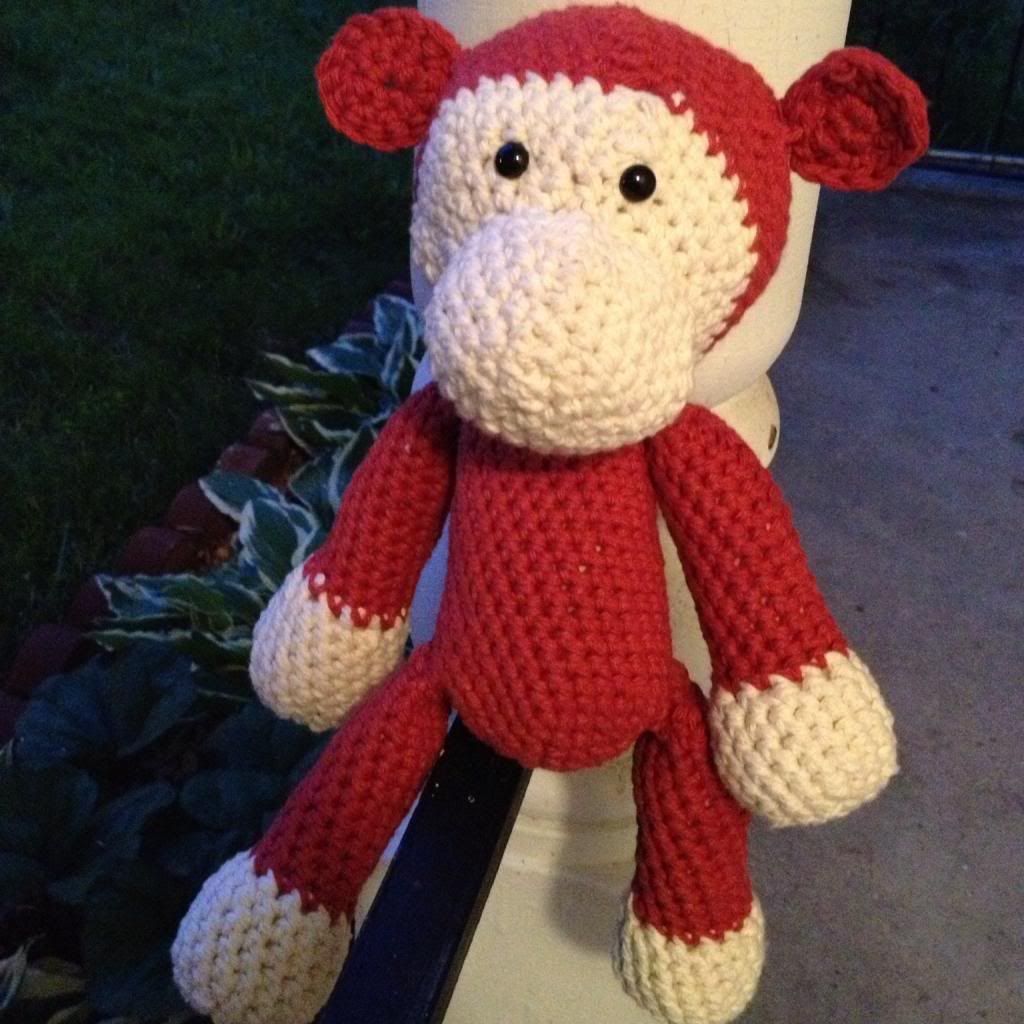
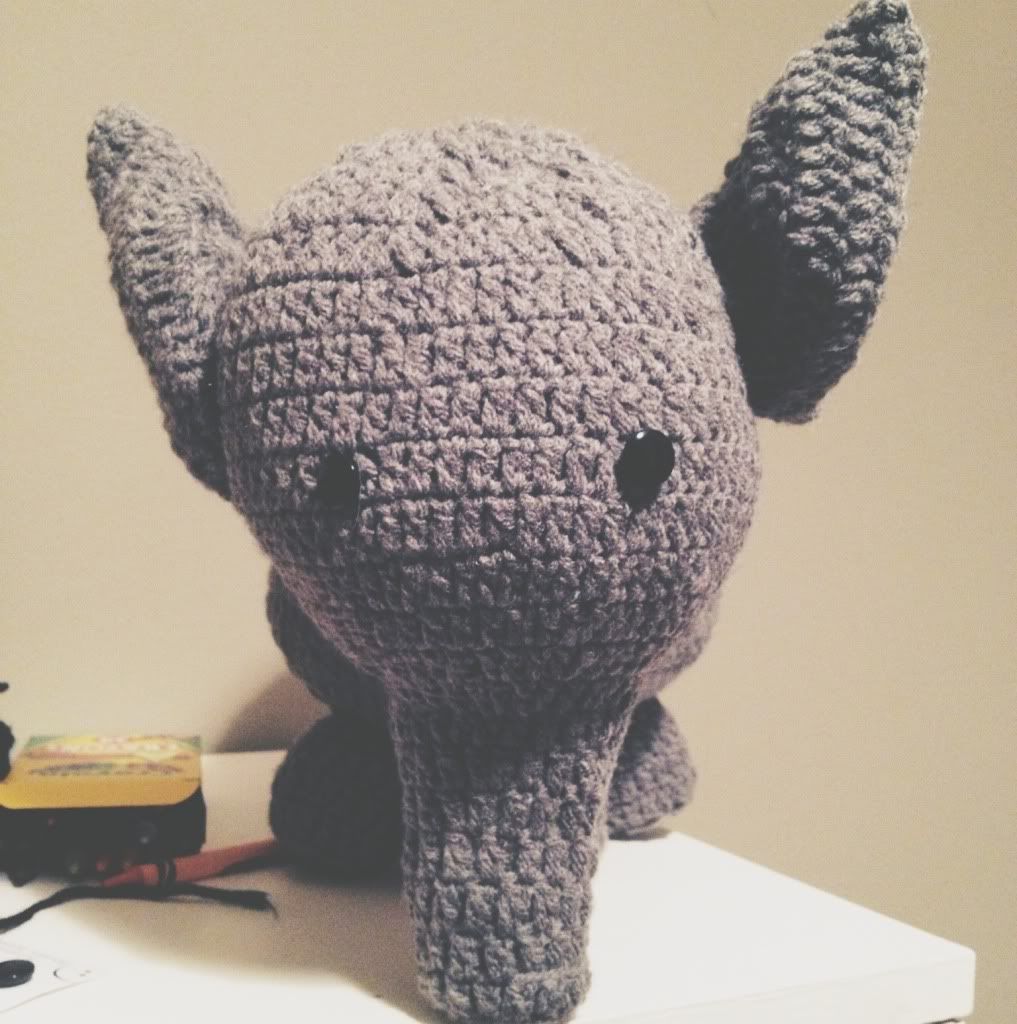
The last couple of weeks, I've moved from making things that are totally practical (bags, hats, flower pot coozies etc.) to making things that are just plain fun! Most of what I have been making are toys for friends and family, which I have to admit are a bit hard to say good-bye to.

       
The one item I have made recently though that will not be moving along to a new home is my gnome. I adore this guy and have a feeling he will be keeping his place on my mantel for quite a long time!

What projects have you been working on?

The patters I used for these projects can be found here:
Unicorn & Zebra: Madison Craft Nook
Monkey: The Bean Patch
Elephant: Jam Made Studio

The pattern for the gnome is one that I wrote myself. I'll hopefully have a post up with the pattern for him soon!
Follow on Bloglovin

01 June 2013

Crochet Along: Flowerpot Cozies

The obsession with all things to related to plants and gardening continues!

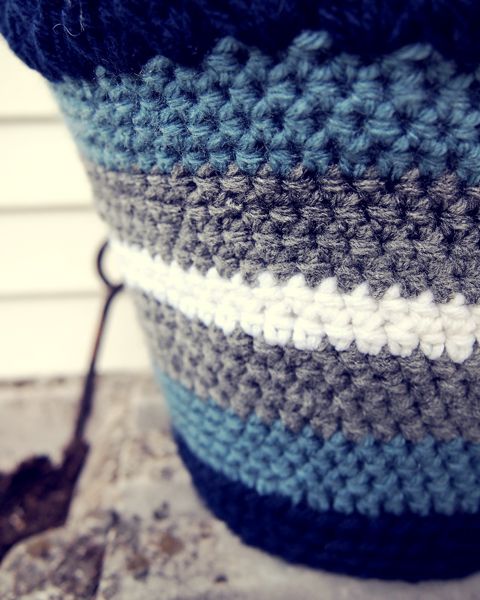
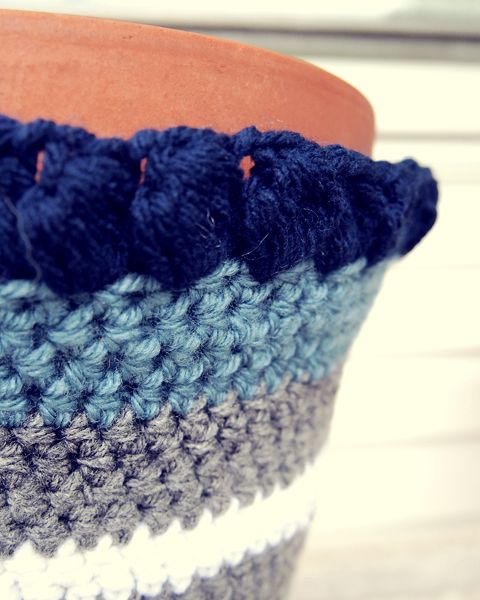
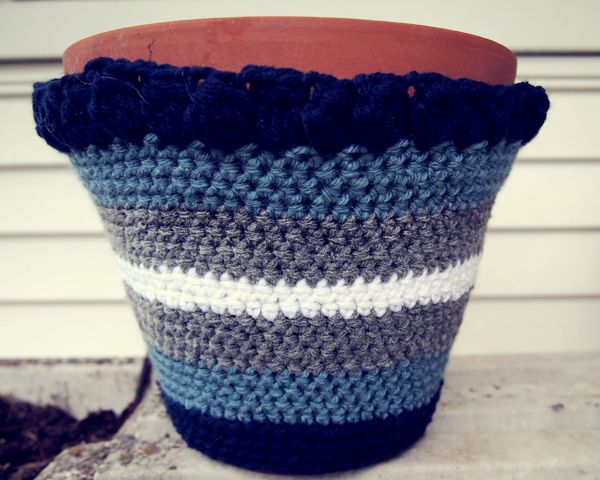
This months project for the Crochet Along with Alicia over at the Habitual Homebody is a flowerpot cozie from Hopscotch Lane. Seriously. I love these things. They are the perfect way to jazz up a boring 'ole terracotta pot for the porch, deck or inside the house.

I am very excited with my cozie, although looking at the photos I realize I need to go back and add an additional row at the top. Apparently my measurements were a touch off. Regardless of my lack of math skills, the project was pretty simple--I was able to whip it up while watching a baseball game.

I opted for colors that match my house since the pot will be sitting my front porch. Hopefully the seeds I planted with start to grow soon so I don't have a cozie on a pot of dirt, but even still it's pretty cute.


I am definitely planning on making a few more of these for some small pots. They are definitely going to be a fun, color addition to my from garden and porch!

Did you crochet-along this month?

Habitual Homebody
Follow on Bloglovin

22 April 2013

Hooked: Bag Obsessesd

Confession: I. LOVE. BAGS.

Small bags. Big bags. Clutches. Messenger bags. Tote bags. Sling bags.

I love them all.

Except maybe backpacks. I am not a big fan of them.

Before going on vacation, I made myself a new beach bag to take with me for all my beach essentials. The bag was mostly a success. I loved the colors. It ended up being the perfect size to schlep all my stuff from the hotel room to the pool and/or beach. But.....and this is kind of a big but, the pattern I used made for a super "stretchy" bag, which I knew I just didn't think it would stretch that much. Plus, it was the first time I had made anything with straps and it was kind of a big time fail. By the end of vacation the damn thing stretched out way more than I had anticipated it would and hung down below my knees. Not cool bag. Not cool at all.

Needless to say, it was back to the drawing board for a new beach bag.

Thanks to the wonderful world of Pinterest, I came across a pattern for the London Crochet Bag over on Crochet Dynamite. I immediately swooned over the style/look of the bag and then nearly feel over when I read the pattern. It was absolutely something I could make.

I did deviate a bit from the original pattern. I knew since I'd be using it as a beach bag, it didn't need to be quite as big as the bag in the pattern. At most, it would be used to haul around a notebook, couple pens, Kindle and sunscreen. And maybe a bottle of water. I made it a few inches shorter than the pattern calls for and ended up changing the strap a bit.

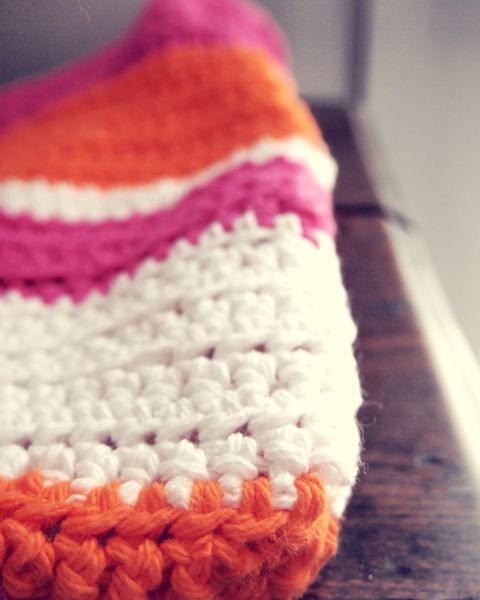
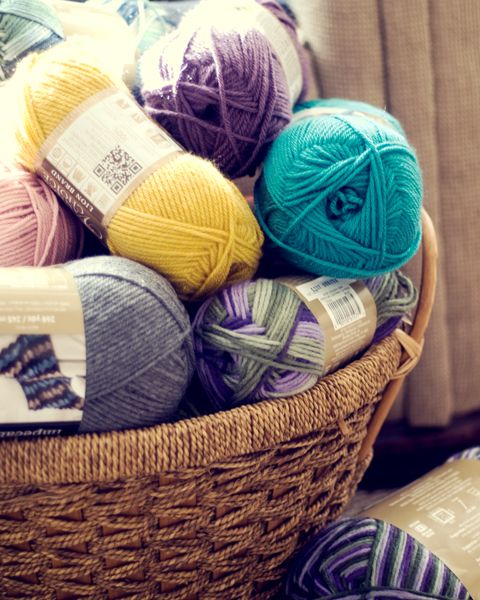
I used Lily Sugar 'n Cream cotton yarn for the project, which I had picked up for super cheap--$1.00 per ball! Because I wanted something that screamed summer, I went with Hot Pink (not pictured), Hot Orange and White. I think I used two balls of pink, one full and a little bit of a second ball in the orange and less than one ball of white (the white was left over from another project).


I opted to use the pink and orange as my main colors and the white as the accent. I am planning on making another bag but reversing the colors: an all white bag with the orange as the accent color. 


For the handle of the bag, I followed the direction in the original pattern but then folded it in half, stitched the two edges together and pulled it inside out (to hide the seam) before attaching to the bag. I wanted to have a really sturdy strap and this seemed like the best way to accomplish that.


I really love the way this bag turned out. I think it is going to be the perfect size for summer excursions to the beach and our families cottage. Now we just need summer to actually get here so I can try it out!

Happy crocheting!

03 March 2013

February Crochet Along

Whoops!

I'm a little behind schedule, as per usual. But as they say, better late than never.

February was crazy busy with crocheting. By the time it was done, I think I made at least a dozen hats for friends which kind of put all personal projects on the back burner for the month. Thankfully though, I did find time to work on a little project for myself via The Curious Pug's February CrochetAlong link-up!

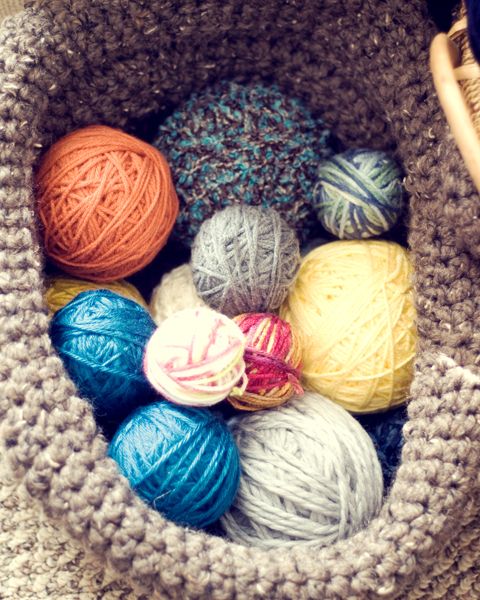
I am CONSTANTLY misplacing little odds and ends that I need for my projects. Yarn needles. Measuring tape. Snippers. Snaps. Buttons. Stitch markers. If it's small and needs something to keep track of it, I'm going to lose it.

One of the three projects selected for this month was an envelope to be used for a small gift or note. Besides being completely adorable, it was a practical! Is there a better gift/project out there? Adorable and practical? I don't think so.


I ended up making a couple of these badboys. One for myself for all my odds and ends and one that went off to a friend. This is definitely a pattern I will come back to time and time again. They are easily customizable (size, color, etc.) and did I mention adorable?


31 January 2013

Crochet Mania!

Remember when I had this grand idea of dedicating a blog to my Daily Square Project?

Let's just say it didn't work out quite like I thought it would. Mostly because I am the most indecisive person I know and kept changing my mind as to how I wanted to approach the project. But also because it ended up being a very time consuming. So....I'm ditching the extra blog and will be doing monthly updates here.

Woohoo!

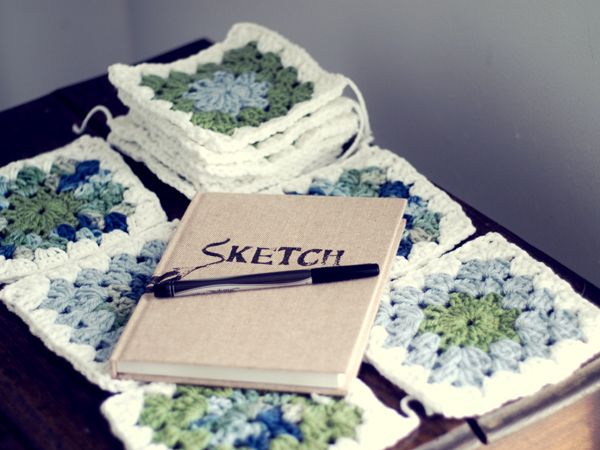
I am happy to say I am right on track with making one granny square a day. I've decided that instead of making a different style or use different colors every day, I'm going to work on a set of squares for an afghan until it's finished.

The first one I am working on is for my mom. She picked out her colors and so far I love the result! The colors work really well together and the yarn is coming out really soft. It's going to be a super cozy afghan when it is done.


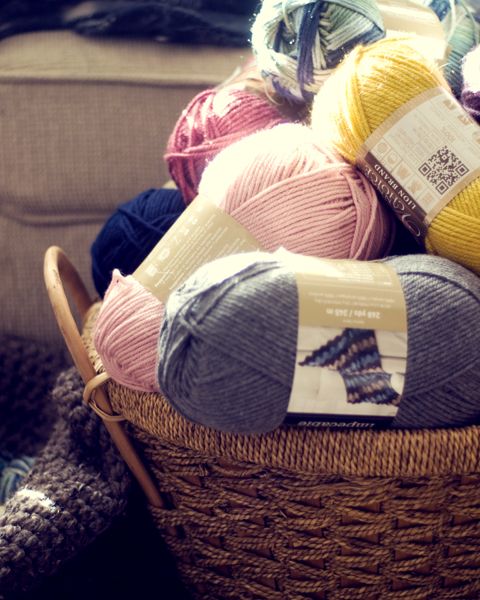
I've also been making hats like no bodies business. So far think I've done a dozen in the last week alone (I know....where I find the time, I just don't know) and have four more to go! I've been a little crazy, but it not only gives me an excuse to buy more yarn, it's also helping to add to the "scraps bag" to use in a really color granny square afghan I plan on making for myself. It's a definite win-win for everyone involved.


27 January 2013

Pinterest Fail: Ice Marbles

I have boards on Pinterest packed full of "projects I can totally manage!" yet most of those projects go unattempted to be honestly, how has time for that?! Most of them are labor intensive (I'm not opposed to the time or work, it's just that sometimes I don't have the extra time needed), require supplies I do not own and/or are not readily accessible.
But occasionally, I'll stumble across an idea that really does seem like something I can manage, like the one: Ice Marbles.

Simple, right!
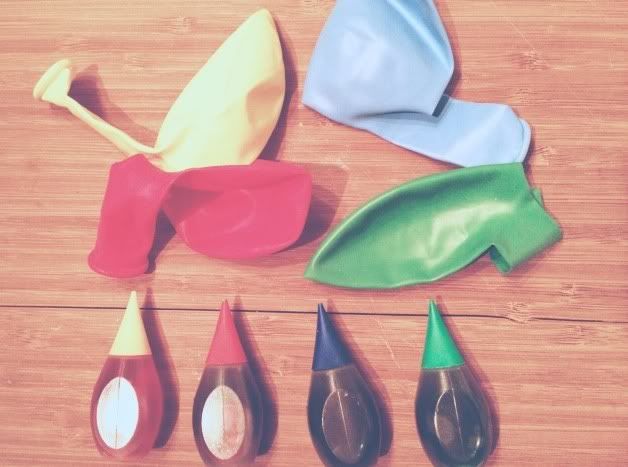
All you need are four things:
*Balloons
*Food Coloring
*Water
*Cold Weather

Friday night I set about my task of making my marble!

I gathered my supplies:

I filled my balloons with water and food color and set them outside to freeze!

And then something went wrong.....

The blue balloon decided it couldn't carry on (maybe it had the winter blues....) and rolled off the bench to what I thought for sure would be its death.
But thankfully, for the briefest amount of time I was wrong. The balloon didn't pop and the water stayed where it was supposed to.

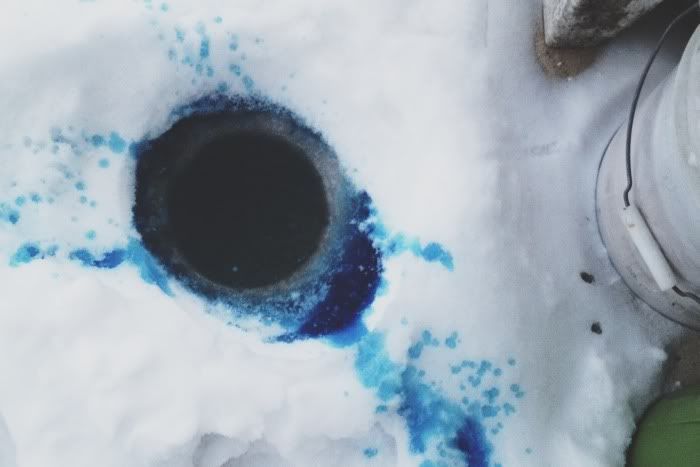
Until of course I came home from work on Saturday afternoon to find this:
The remaining three marbles in training were holding up, but not frozen so I left them alone and let them sit for another 24 hours (total freezing time required for this project: 40 hours) until they were solid.....or at least until I thought they were solid.

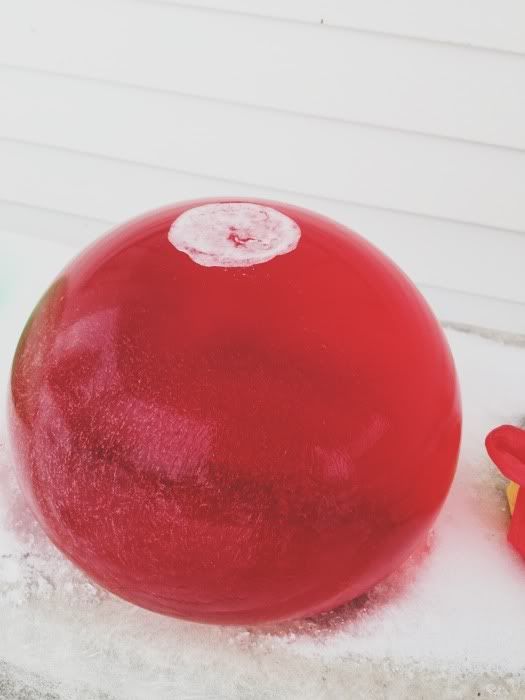
To remove the balloons, I poked a small tear in the side and the balloon split the rest of the way on its own. I then carefully peeled off the rest of the balloon and admired my handywork.
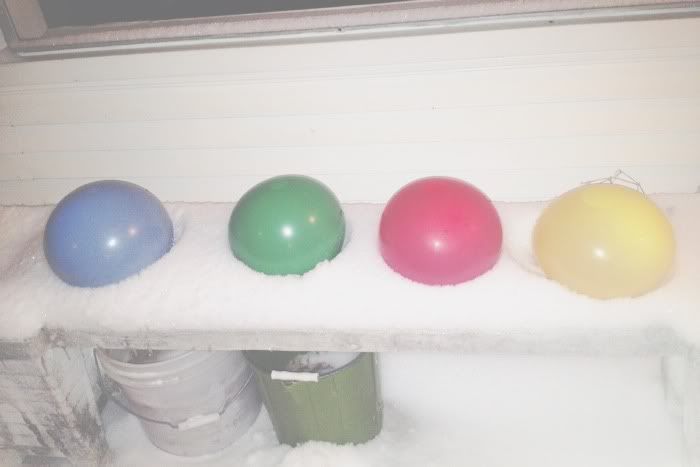
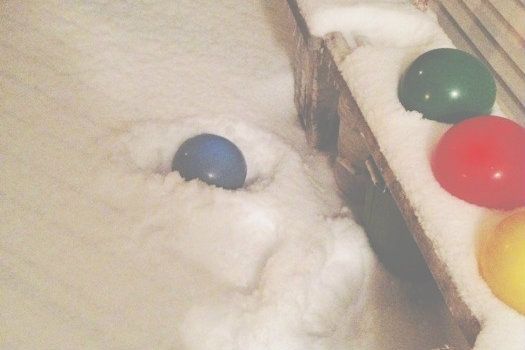
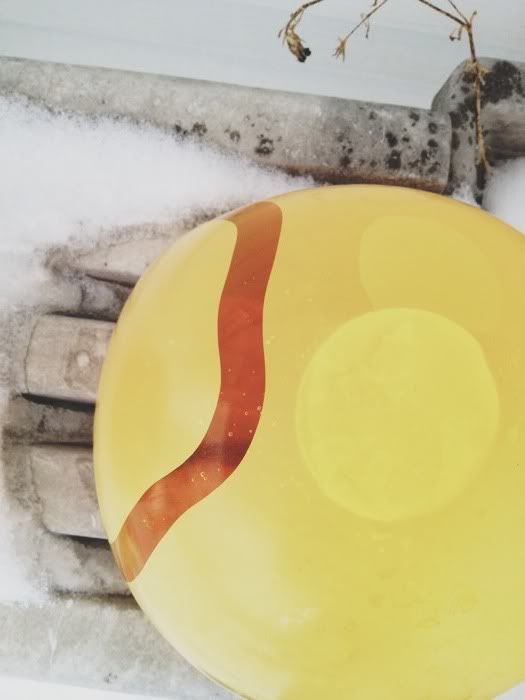
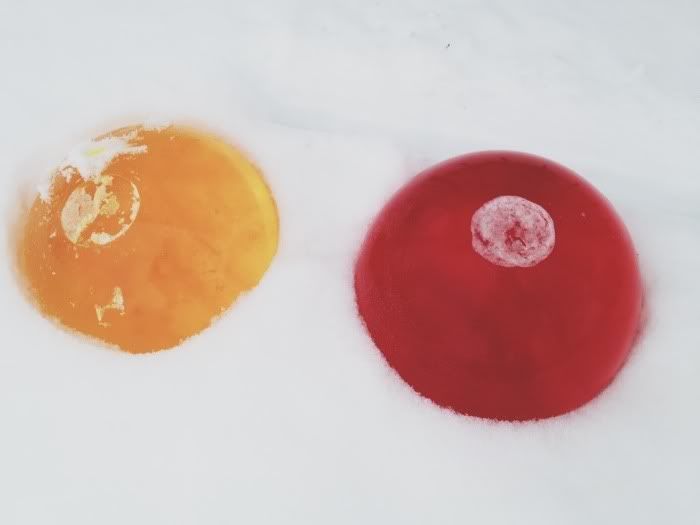
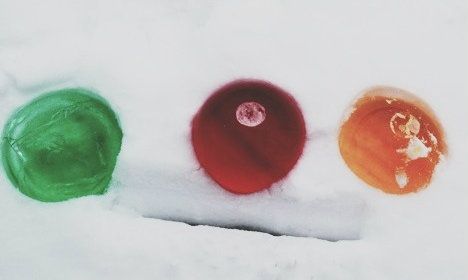
Taking the balloon off the red and yellow marbles went quick smoothly. The balloon came off without incident and I was able to set then in the snow in front of my porch without any issue.

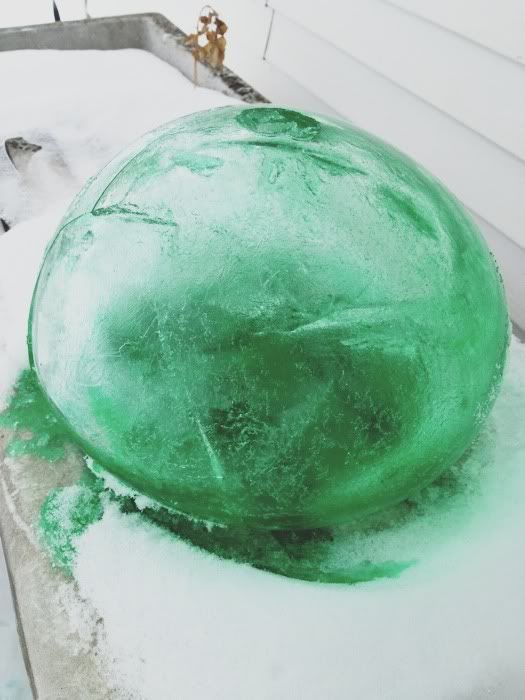
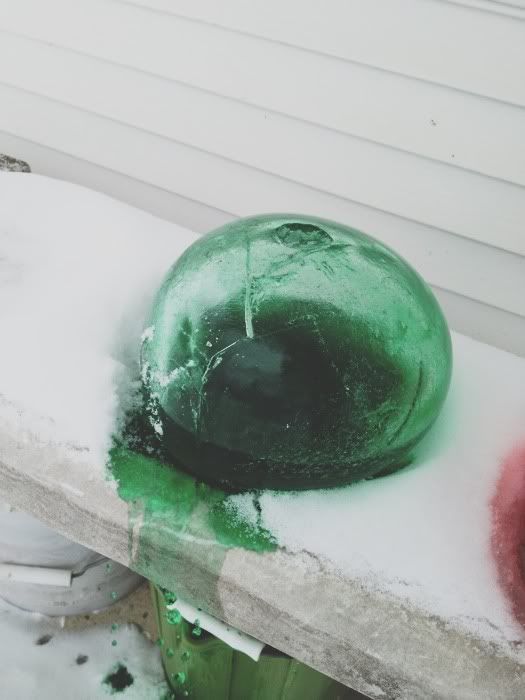
When I was taking the balloon off the green marble, it slipped, it landed apparently not as gently as I thought it had on the bench and cracked, leaking bright green water all over the bench, the porch and my boots. It looks like a leprechaun threw up all over the porch.
I love that my first instinct was that I needed to "take a photo for the blog!!" instead of chucking the thing in the side yard.

Thankfully it wasn't a total loss and there was enough green ice to keep it intact to be set out with the other two.

All-in-all I wouldn't call this a total fail. I think the concept of this project is pretty awesome. Especially if you were going to have some sort of a winter party, lining the walkway or around a deck. I'm just not sure how practical of a project this is.

I'm worried about spring, with these things start to melt and there is colored water all over my side yard--I plan on keeping a close eye on them once warmer temperatures arrive so I can move them, and hauling the water balloons through the house to get them outside was a bit stressful even with them in a bucket. 

But I do really like they way they look out in front of the house. They are a great pop of color in the snow making mine the most color yard on the block! 
Has anyone else attempted this DIY? If you have, any tips or tricks you'd like to share? 

Thanks for reading!

Related Posts Plugin for WordPress, Blogger...