I also struggle with an appropriate gift to give someone as a housewarming or host/hostess gift. I typically default to a bottle of wine, because really, who doesn't love wine.
In an attempt to come up with someone different, I took to Craft Gawker (you had to have seen that one coming!) and a found a project that could be easily customized to whomever (or is it whoever, I can never remember that rule) you would be giving it to so no two gifts would be the same: coasters!
The project ended up being pretty nifty. I've already made three sets (one for myself of course!) and am already trying to figure out what other materials I can use to make these bad boys.
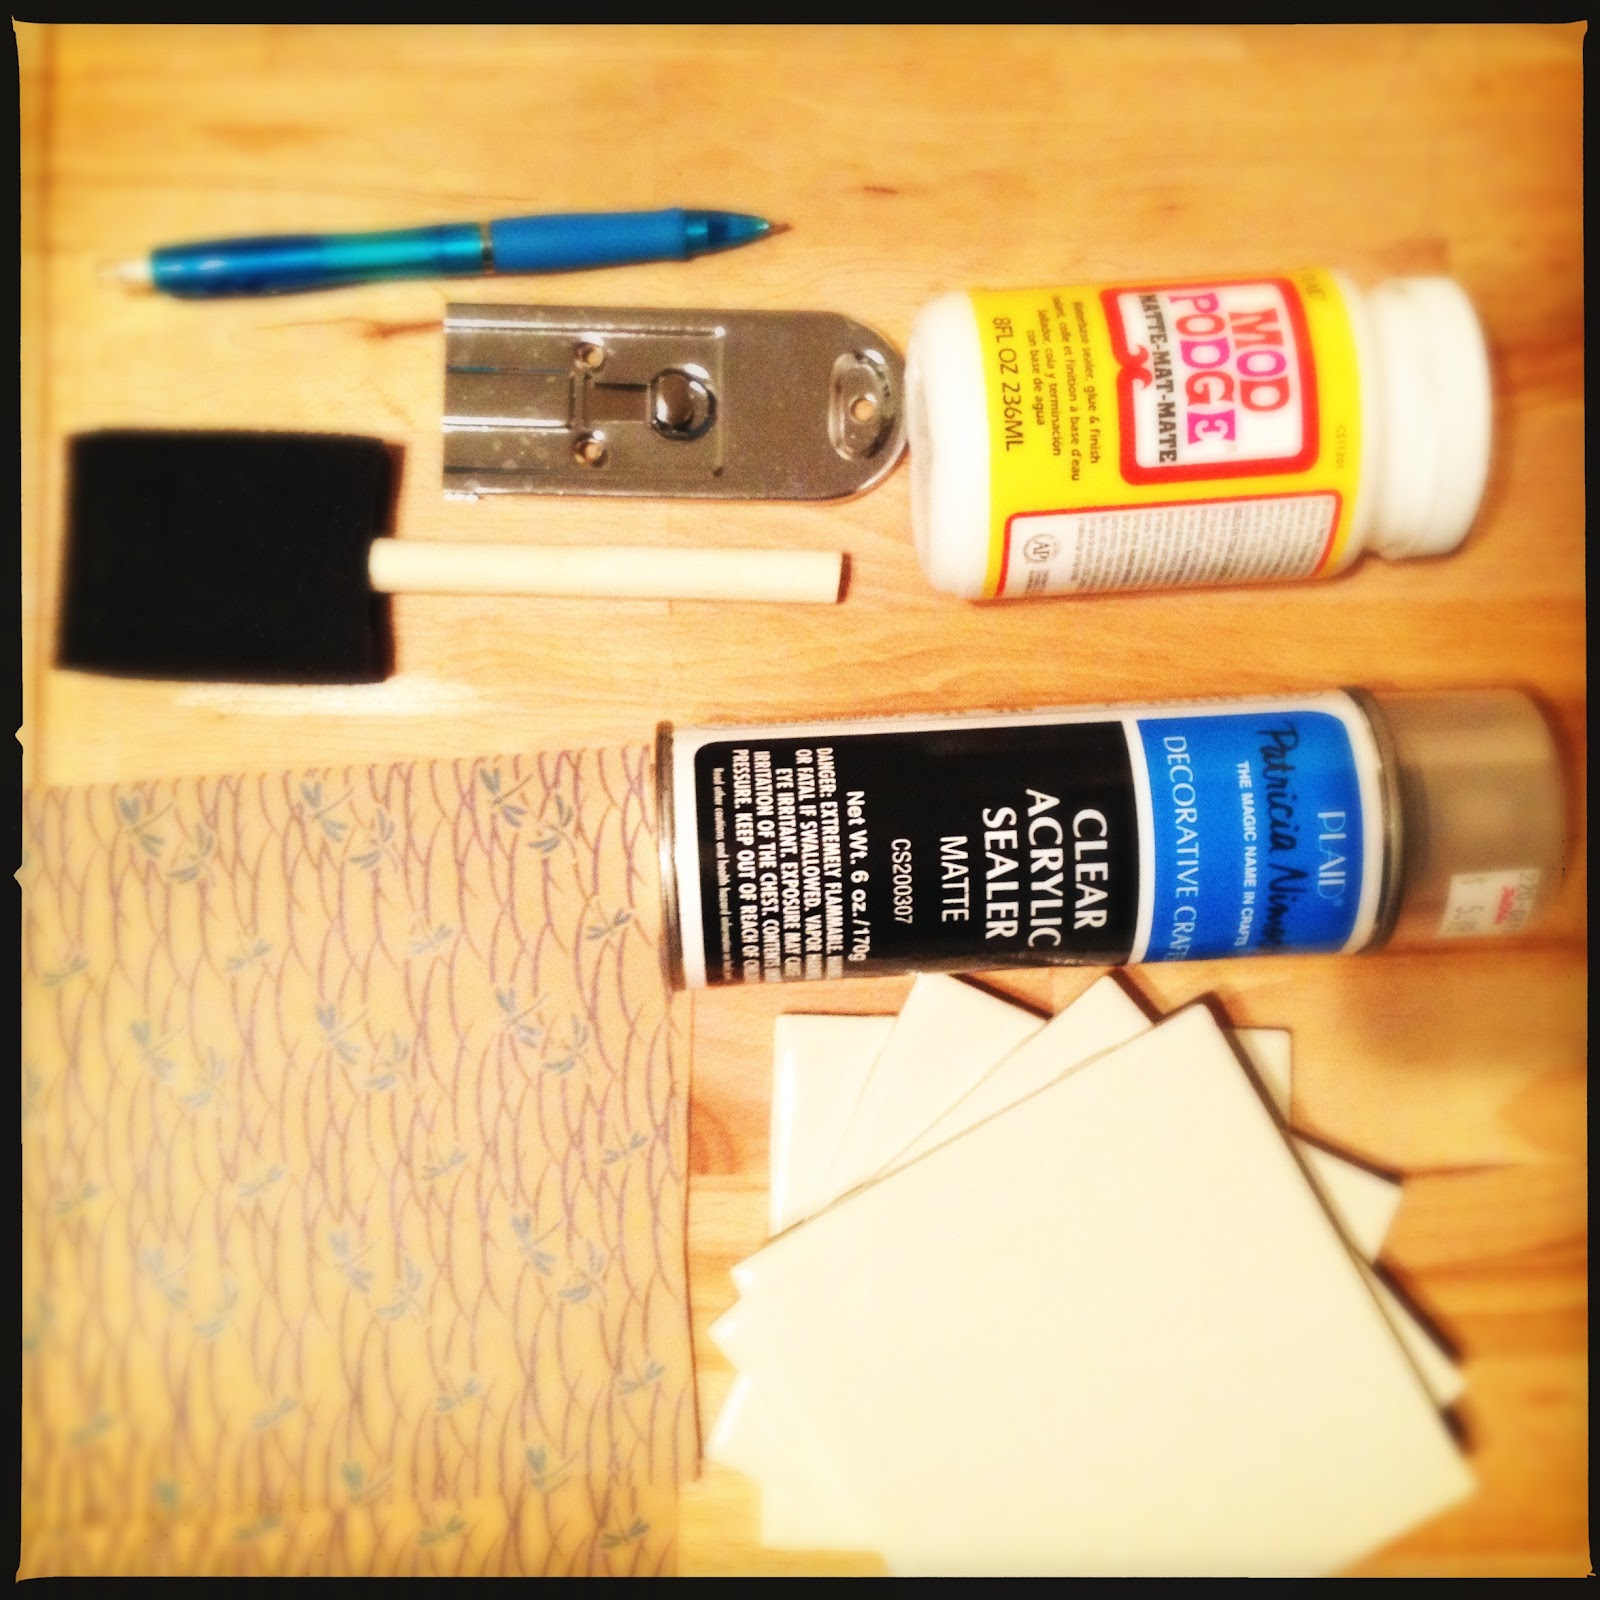
The Goods:
- 4 Ceramic Tiles
- 4 Pieces of your favorite paper or fabric. I used some extra origami paper I had laying around.
- Mod Podge
- Foam Brush
- Exacto-Knife or Scissors
- Pencil
- Clear Acrylic Sealer
- Cork or Self Adhesive Felt Pads (not pictured)
The Directions:

Either trace the tile on the non-patterned side of the paper with your pence and cut out with your scissors. OR you can trace around the tile on the non-patterned side of the paper with your Exacto Knife or Razor Blade. I have done it both ways and each worked quite well.
 Apply a thin layer of Mod Podge, evenly distributing it onto the tile. Carefully place the paper, pattern side up, onto the tile, making sure the edges line up. Before it dries, add another layer on Mod Podge onto the paper and tile. Don't panic if the paper starts to bubble or curl at the edge. This second layer of Mod Podge will help smooth things out. To "seal" the edges, I just used my finger to smooth out the paper and apply a little extra Mod Podge where needed.
 I applied at least three layers of Mod Podge over the paper and tiles, allowing each layer to dry to before adding another. This will help seal the paper and will ensure you didn't miss any spots.
  Once the Mod Podge has totally dried (I let mine dry over night), seal the coasters with a water proof acrylic sealer. I know the bottle of Mod Podge says that it'll keep water out, but I added another layer of protection just to be on the safe side. While researching this project, a couple other bloggers/crafters who only used Mod Podge complained that when wet, the coasters became sticky when being used. Rather than deal with "tacky" or "sticky" coasters, I decided err on the side of caution and go with a sealer.
  The last step is to add either the cork or the felt pads to the bottom of the coaster. I used 4 felt pads (the kind that go on the bottom of chair legs), one in each corner of the coasters. This will keep them from putting scratches in the tabletop!
When you are done, you can wrap them up in your favorite ribbon to give to your favorite host or hostess!

0 comments:
Post a Comment